
Support
For assistance, please first review the information and FAQ below. If your question remains unresolved, get in touch via the About page.
General Information
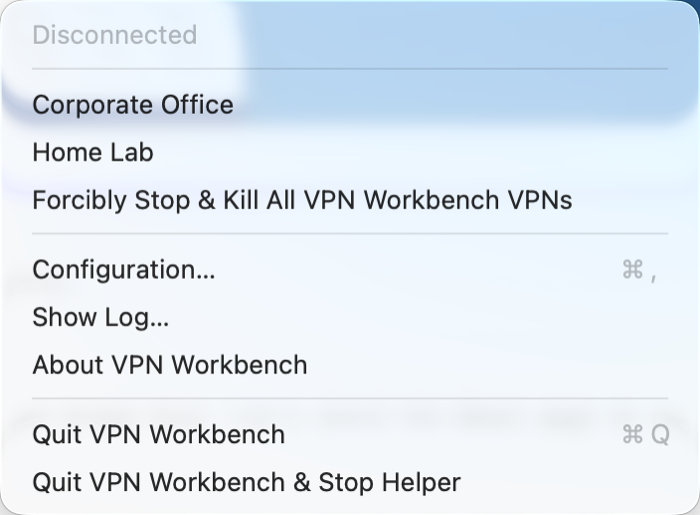
VPN Workbench is a native macOS menu-bar app that fronts IPsec (IKEv1/IKEv2), WireGuard, OpenVPN and L2TP/IPsec tunnels. A privileged background helper (installed and approved once, under System Settings → Login Items & Extensions) manages the actual VPN processes and network changes; the menu-bar app is the front end for it.
The status dot in the menu bar shows green when a tunnel is connected, red when disconnected, and amber while connecting or reconnecting. Click a profile in the menu to connect or disconnect it, or open Configuration… to add and edit profiles.
Profiles & Protocols
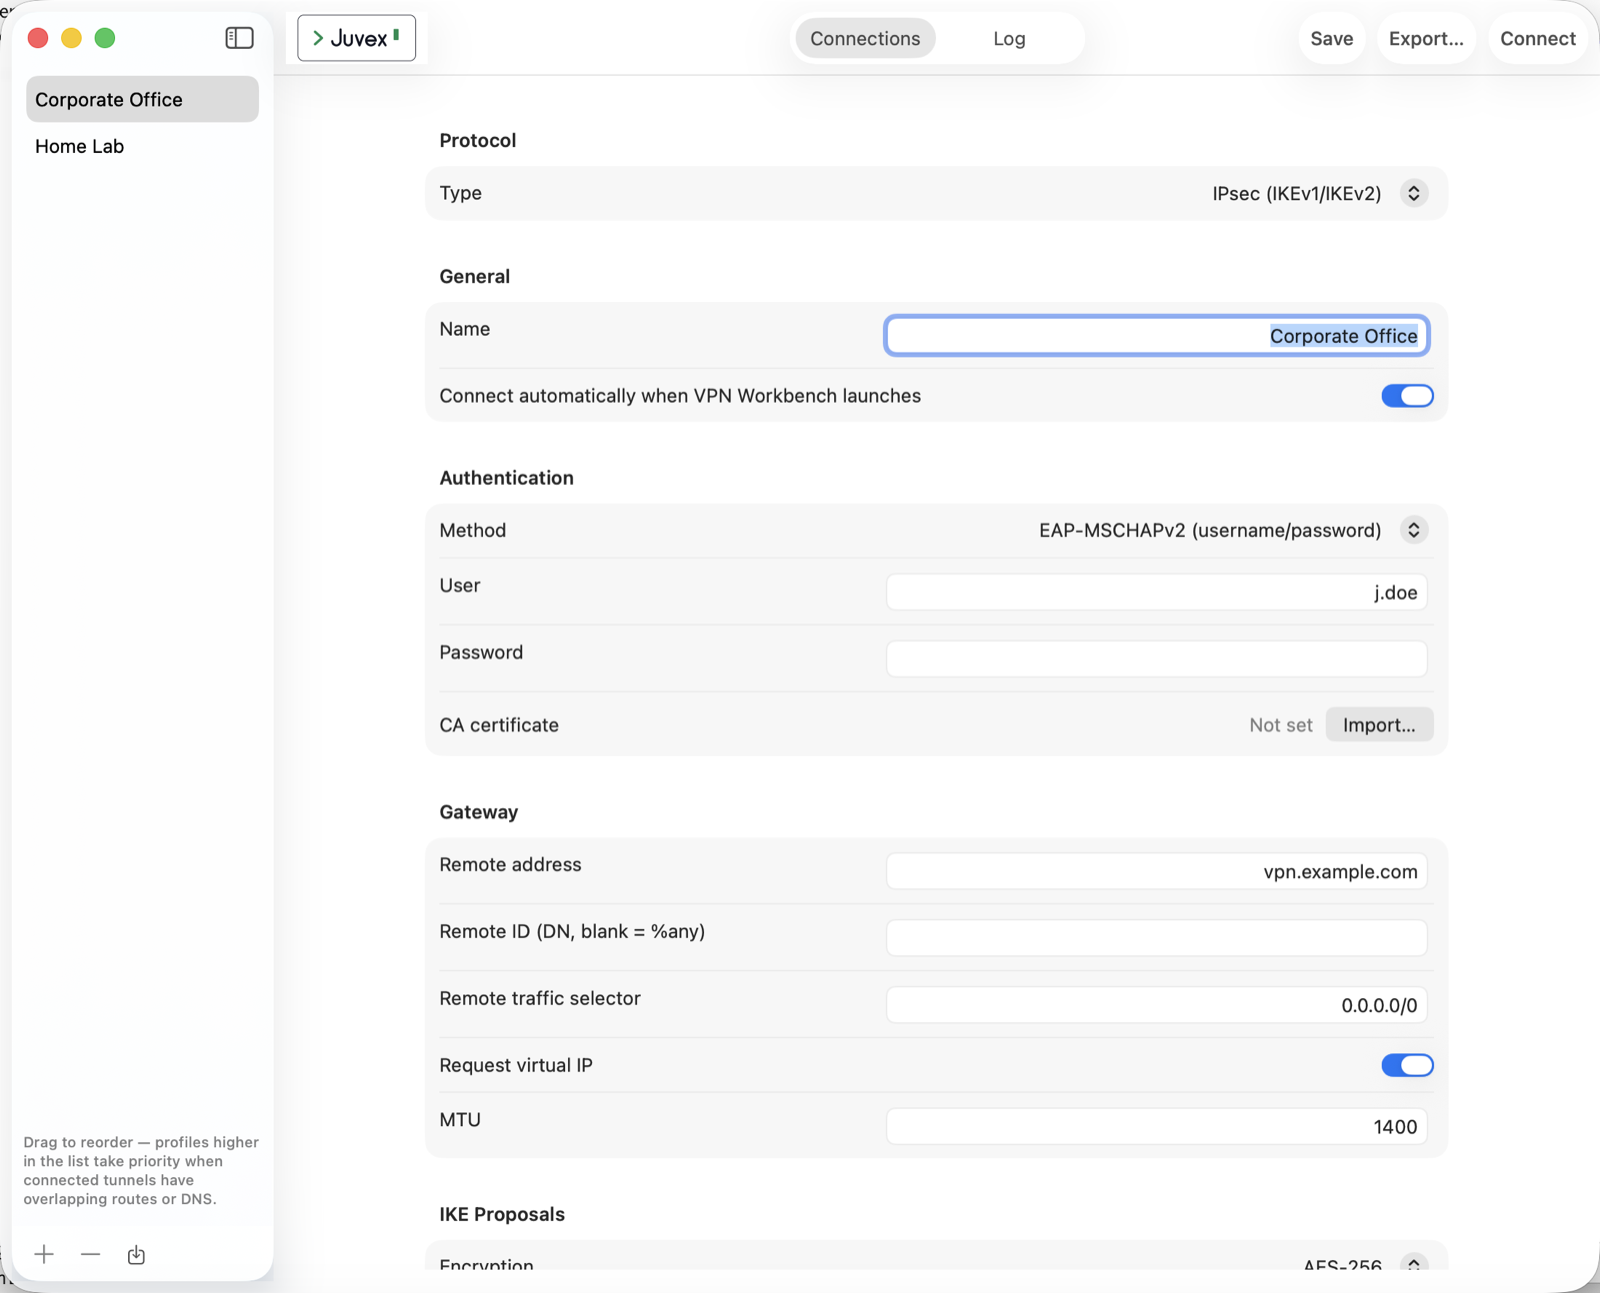
Each profile picks a protocol — IPsec, WireGuard, OpenVPN, or L2TP/IPsec — and can be connected independently of the others. Several profiles can be connected at the same time, even mixing protocols; when connected tunnels claim overlapping routes or DNS settings, the profile higher in the list wins. Drag profiles in the list to reorder their priority.
WireGuard and OpenVPN profiles can be created by importing a provider's .conf/.zip
or .ovpn file directly, instead of entering every setting by hand.
A profile can be exported to a passphrase-protected .vpnworkbench file (the full
configuration plus its secrets, encrypted) and imported again on another Mac.
Routing, DNS & dnsmasq
Every profile has a Routing & DNS section that controls what traffic goes through the tunnel and how names get resolved while it's up:
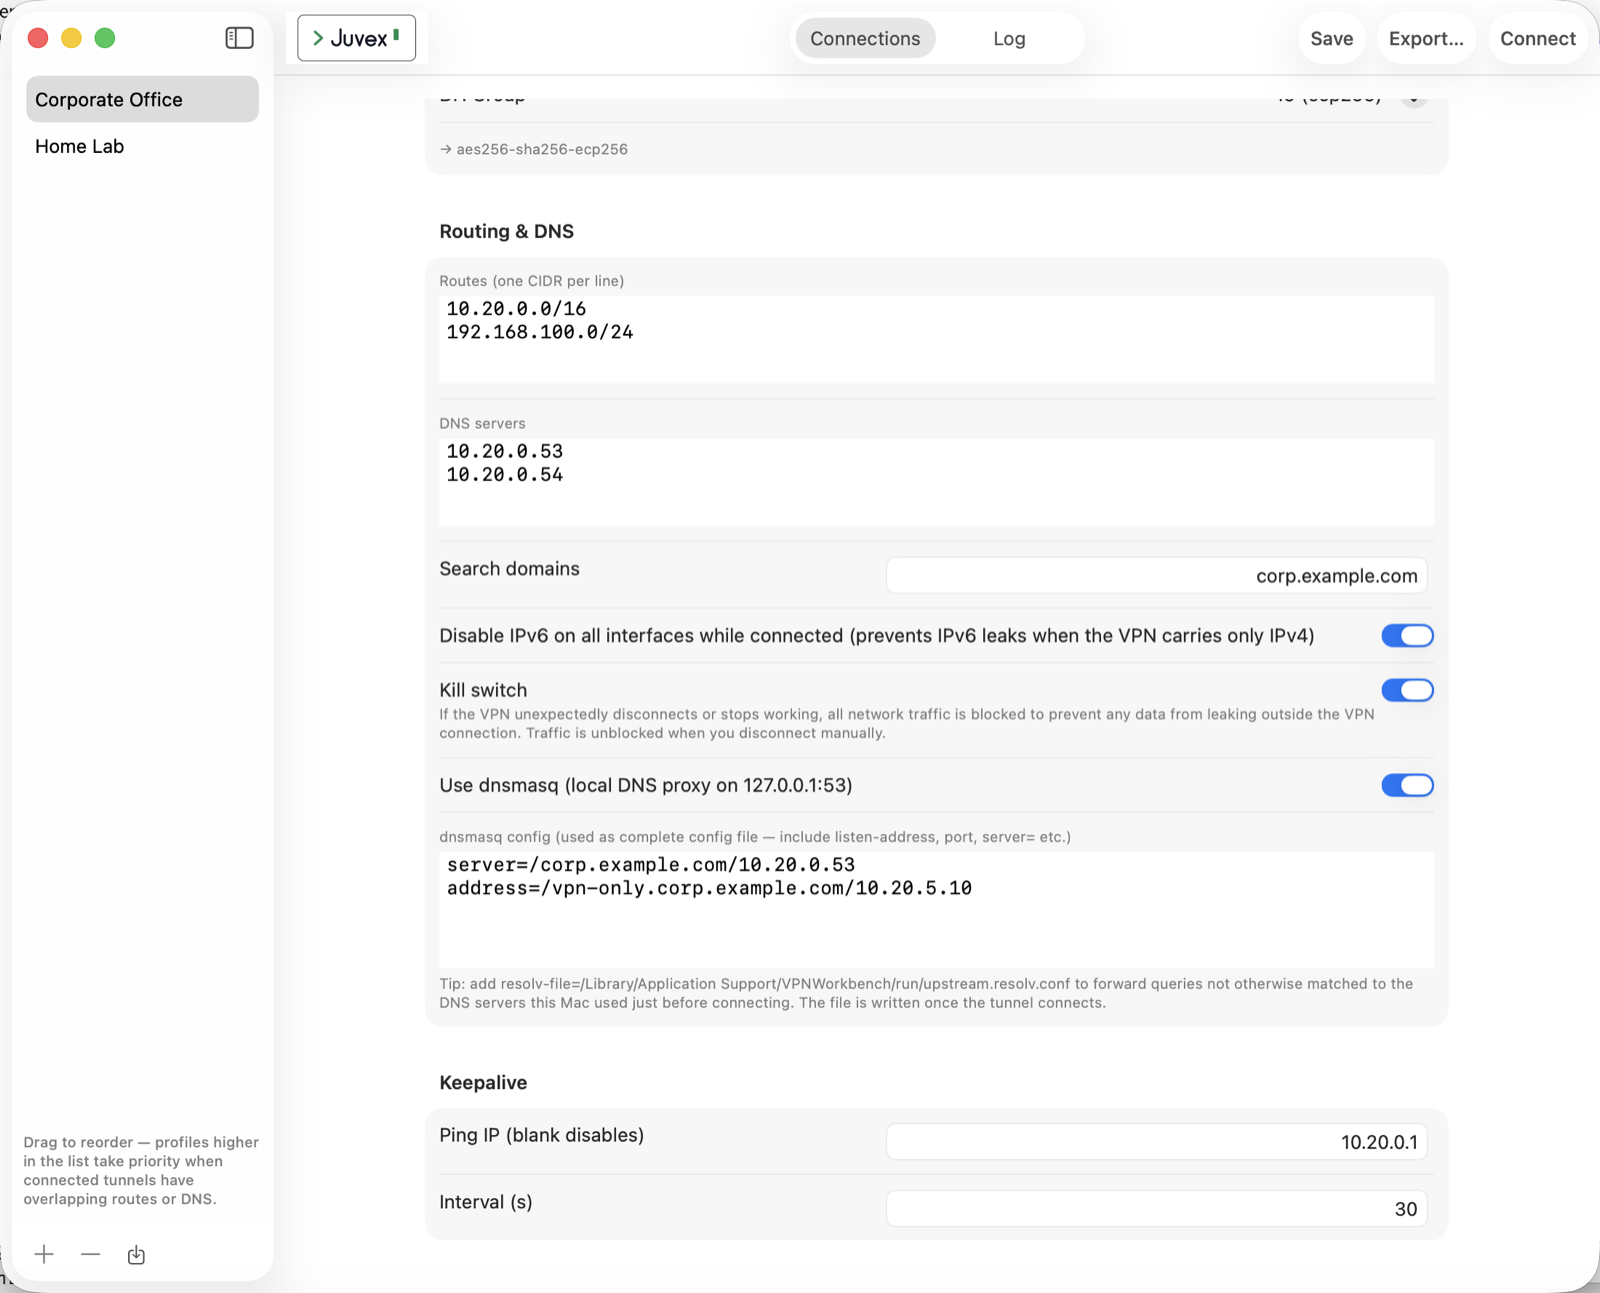
Routes are the destination networks (one CIDR per line) that should travel
through this tunnel instead of your regular internet connection — this is what's usually
called split tunneling. In the example above, only traffic to 10.20.0.0/16
and 192.168.100.0/24 — a corporate office network — goes over the VPN;
everything else (general web browsing, streaming, and so on) keeps using your normal connection.
Leave Routes empty to fall back to whatever the gateway itself negotiates (an IPsec/L2TP gateway
can hand down its own traffic selector; WireGuard and OpenVPN profiles should set routes
explicitly). For a full-tunnel VPN that carries all of your traffic, use
0.0.0.0/0.
DNS servers are the resolvers macOS should use, for domains covered by Search domains, while this tunnel is connected — typically your organization's internal DNS servers, so internal hostnames (like an intranet site or a database server's name) resolve correctly. Disable IPv6 … is worth turning on for an IPv4-only tunnel: without it, IPv6 traffic can bypass the VPN entirely over your regular connection even though IPv4 is correctly tunneled.
dnsmasq (split DNS)
Turning on Use dnsmasq starts a small local DNS proxy on
127.0.0.1:53 for the duration of the tunnel and points macOS at it, instead of
directly at the DNS servers above. On its own (with the config box left empty) it simply
forwards every query to those DNS servers — but the real reason to enable it is
per-domain split DNS: writing your own dnsmasq config lets only some
domains resolve via the VPN's DNS servers while everything else keeps using your Mac's normal
resolvers, without sending every DNS lookup over the tunnel. The config box is used as a
complete dnsmasq config file, for example:
server=/corp.example.com/10.20.0.53
address=/vpn-only.corp.example.com/10.20.5.10
server=/domain/ipforwards only queries for that domain (and its subdomains) to the given DNS server — here, anything undercorp.example.comgoes to the internal resolver at10.20.0.53, and every other domain still uses whichever DNS servers your Mac was using before connecting.address=/host/ipis a static override: that one hostname always resolves to the given IP, with no DNS lookup at all — handy for a single internal host you want pinned to a fixed address.
Add a resolv-file=…/upstream.resolv.conf line (VPN Workbench tells you the
exact path once dnsmasq is enabled) to also forward anything not matched by your
server=/address= lines to the DNS servers your Mac used just before
connecting, rather than leaving them unanswered.
Kill Switch
Enabling the kill switch on a profile blocks all network traffic if that tunnel unexpectedly disconnects or stops working, so nothing leaks outside the VPN while VPN Workbench tries to reconnect in the background. Traffic is unblocked as soon as you disconnect the profile yourself.
If a tunnel ever seems stuck or the helper loses track of it, the menu's Forcibly Stop & Kill All VPN Workbench VPNs command immediately kills every VPN process and restores your network to normal.
Uninstall
To uninstall VPN Workbench, drag the application to the Trash. To remove all associated data, run the following commands in Terminal:
sudo rm -r /Applications/VPNWorkbench.app
sudo rm /Library/LaunchDaemons/fi.juvex.vpnworkbenchhelper.plist
sudo rm /Library/PrivilegedHelperTools/fi.juvex.vpnworkbenchhelper
rm -r "${HOME}/Library/Application Support/VPNWorkbench"
rm ${HOME}/Library/Preferences/fi.juvex.vpnworkbench.plist
security delete-generic-password -s fi.juvex.vpnworkbench.secrets 2>/dev/null
FAQ
1. Do I need to enter an admin password every time I connect?No. Once the privileged helper is approved under Login Items & Extensions, connecting and disconnecting never prompts again — access to the helper is verified by code signature, not by re-authenticating each time.
2. Where are my VPN credentials stored?In the macOS Keychain, not in a plain configuration file. Only the non-secret parts of a profile (server address, protocol settings, and so on) are stored outside the Keychain.
3. Does VPN Workbench need anything installed separately (Homebrew, etc.)?No. strongSwan, OpenSSL, dnsmasq, wireguard-go and OpenVPN are all bundled inside the app itself, built for exactly the version VPN Workbench ships.
4. Can I connect to more than one VPN at the same time?Yes — connect as many profiles as you like, in any mix of protocols. Give profiles a priority order (by dragging them) to control which one wins if they'd otherwise conflict over routes or DNS.